Host your own FREE Password Manager with your Synology NAS
Most people are unaware of how dangerous it can be to surf web nowadays. Whether it’s downloading malicious files from a suspicious site, or being eavesdropped when you try to authenticate your password on a remote server, you probably won’t even know how much information was stolen until your bank contacts you. Some people simply believe they can beat the odds of being hacked, while some people started to look for solutions like a password manager to store all their credentials in a protected virtual vault, but the question is, would you trust someone to keep all your information safe just for $3.99 a month?
Would you build your own vault for free if it’s easy and safe ?
If you’re a corporate IT or a MIS from a SME, it’s likely your company wants to keep all the accounts, information within the company, and if you’re someone that cares about internet privacy, it’s also likely that you’re looking for a way to host your own password manager that is cross-platform, highly deployable and cheap. That comes down to one solution we’re here to introduce today — Bitwarden.
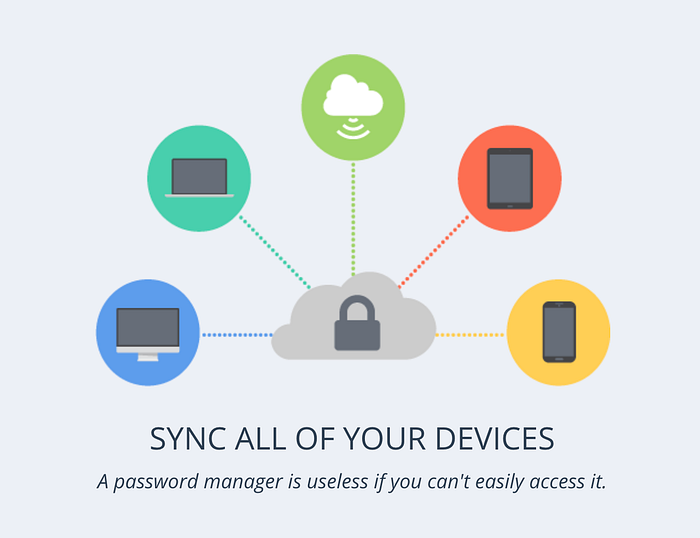
Bitwarden is an open source password manager that supports self-hosting on Docker, it supports nearly every OS on Earth and it offers a modern UI with end-to-end AES-256 bit encryption, salted hashing, and PBKDF2 SHA-256.
Lets get started
- We’ll focus our effort on hosting our own password manager on a Synology NAS, but the truth is that the image works on nearly every Linux based system, all you need to do is to find alternatives applications to execute reverse proxy. Let’s get started, install the application “Docker” from your NAS’s Package Center.
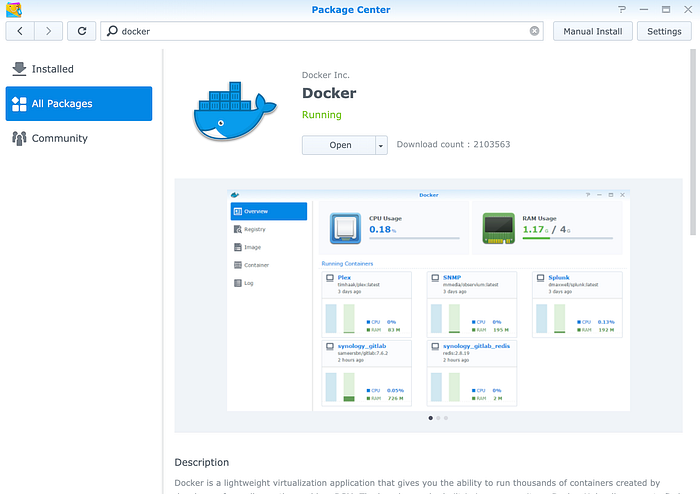
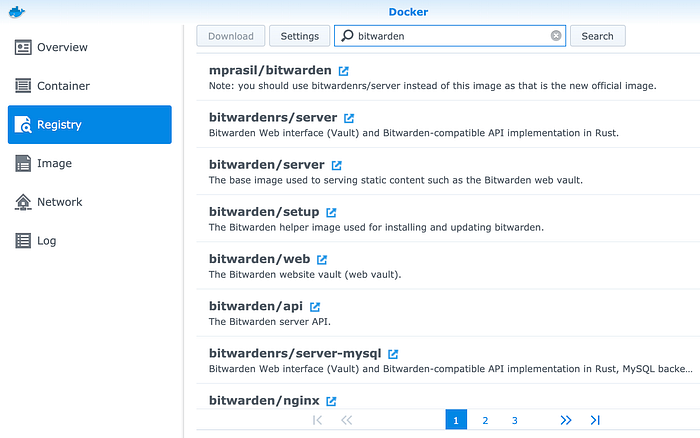
2. Open Docker->Registry->bitwardenrs/server, and click download, wait for a few seconds. The image is a repackaged version of Bitwarden using RUST.
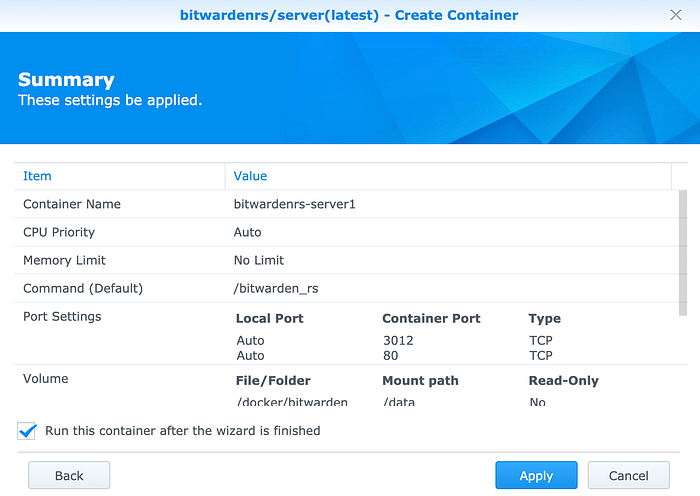
3. Go to Image and create a container for bitwardenrs/server, make sure you properly select your preferred setting in Advanced Setting.
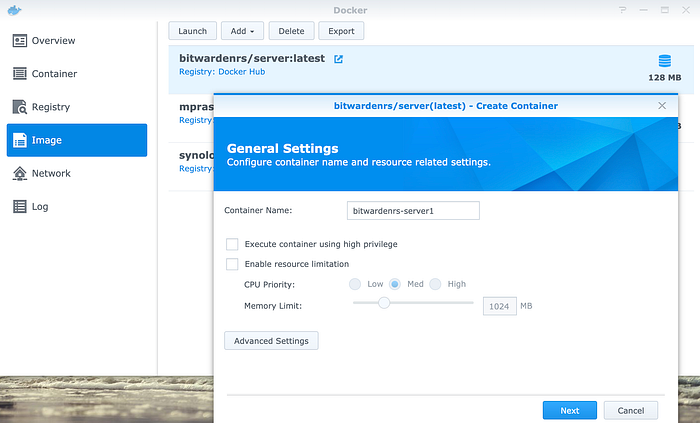
Below are some of the settings I use.
- Enable auto-restart
- Create a container in docker/(your file name), Mount path at /data.
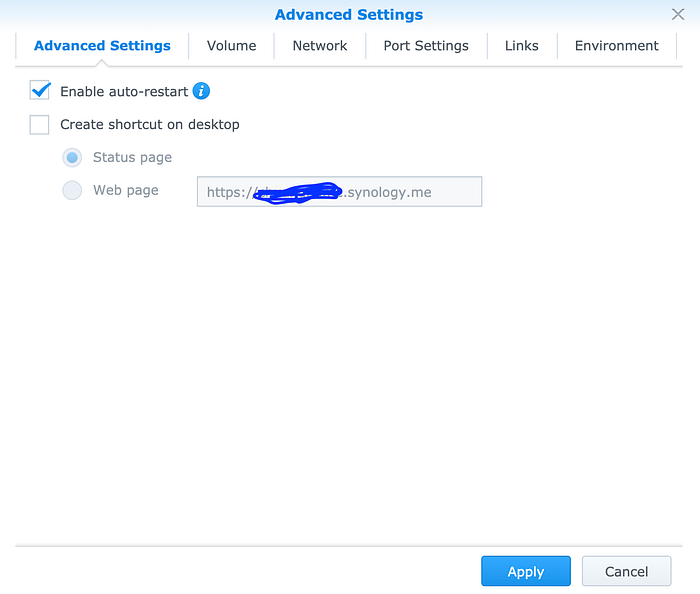
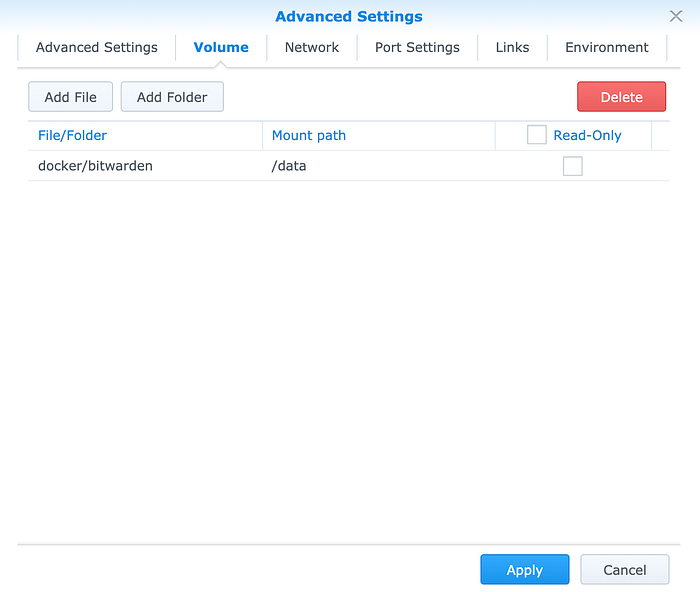
Apply the setting.
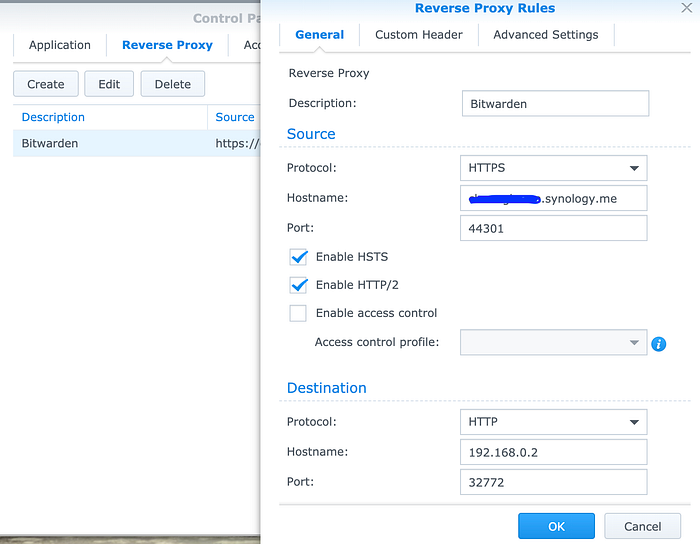
4. Go to Control Panel->Application Portal->Reverse Proxy, set up a proxy rule so you can access Bitwarden from Chrome, mobile clients in a secure manner.
Description: (Whatever you please)
Hostname: your Quickconnect or DDNS name
Port: Set it to 44301 or any other ports you like
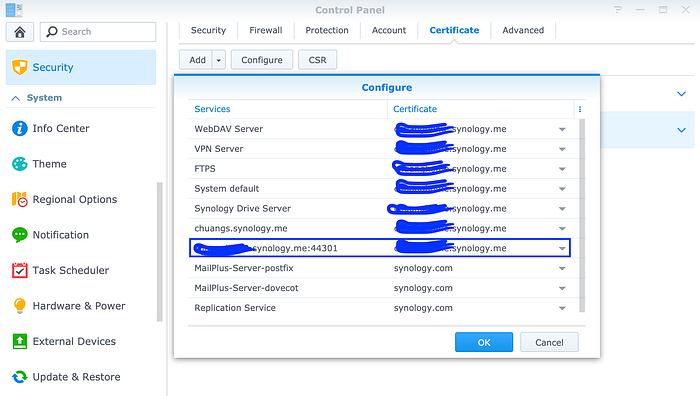
5. Go to Security->Certificate and configure your service certificate to a HTTPS certificate issued by services such as Let’s Encrypt, details of how to get hold of a SSL certificate is not covered here as you can find many tutorials online. Be sure to check the port forwarding setting in your router’s admin GUI, in this case I have to port forward port 44301, wait for a minute or two to let the changes go live. (If you do not update the port forwarding rules in your router bitwarden will NOT work, go to the bottom if you have no idea what port forwarding is, it is an important step. )
6. When you log into the Bitwarden page successfully, congratulation you’re hosting your own private, affordable, user-friendly application.
Due to some limitation in Chrome, try to use Firefox or Safari to open the Bitwarden page, you should always try to use the source “hostname:port” to access the login page rather than using the destination hostname.
Create your own account and enjoy………………

Some extra features you should know:
Activate ADMIN_TOKEN
Most people host their Bitwarden on Linux virtual machines. We, the Synology folks, should take advantage of the awesome environment provided by Synology and make everything easy.
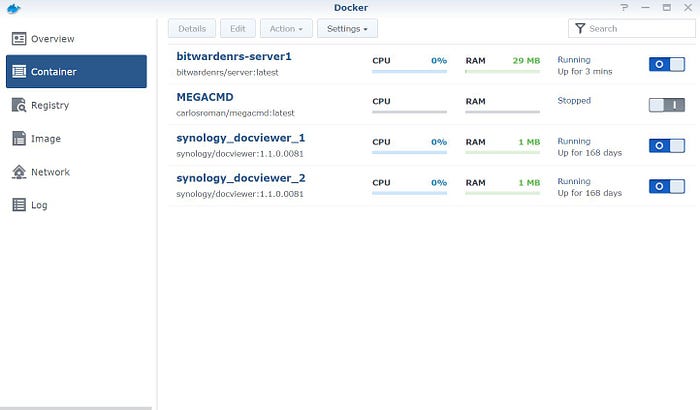
- Click a few times on your bitwardenrs-server inside the “Container” tab and look for the terminal, click “Create”. At this moment you should see “bash”, our goal here is to generate a secret code to protect the admin portal.
2. type in openssl rand -base64 48 , in this occasion a series of code is generated, save the code for later use.

3. Exit the terminal and go back to the “Container” tab, stop your bitwarden server, we will be editing the environmental variables. Click Edit then Environment, put ADMIN_TOKEN in the variable box and the code in the value box, click apply. Restart your bitwarden server and type in your bitwarden admin portal url, mine is:
https://(your username). synology.me:44301/admin
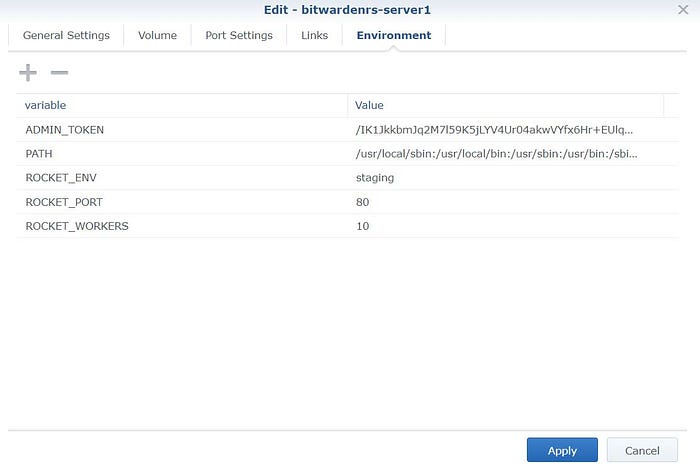
If you have no idea what the 44301 is for, go to step 3 “The reverse proxy rules”. You should see the admin portal show up, copy and paste the code generated and you are good to go. I will be updating the post next time to write something about updating the software itself. Thanks for now.

___________________________________________________________________
Port Forwarding:
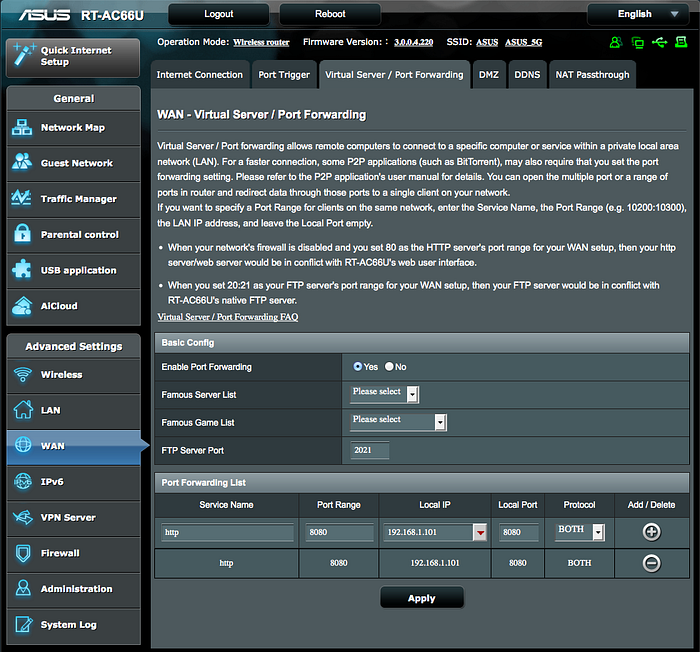
Your router’s job is to isolate your home network from the devious world wide web that is filled with hackers and malware. However, sometimes we need to trade some security for a little bit of convenience, this is where port forwarding comes in. Don’t even assume port forwarding is something difficult, it’s not.
The hardest part is often finding out the way to log in to your router, I can not help you with that. For Asus routers it is router.asus.com.
- GO to WAN — Virtual Server — Port Forwarding, enable it.
2. In the port forwarding list, type in
Service Name: Bitwarden
Port Range: 44301 (Or the one you chose)
Local IP: The local IP for my NAS, you can find it in the router’s network map
Local Port: 44301 (Or the one you chose)
Protocol: Both
Click the Add/Delete button and Apply, you are good to go.
